
Explaining the Step-by-Step Mold Remediation Process in Goodyear, AZ
Protecting Goodyear homes: Addressing hidden moisture and mold growth caused by desert monsoons and high-efficiency HVAC cooling systems.
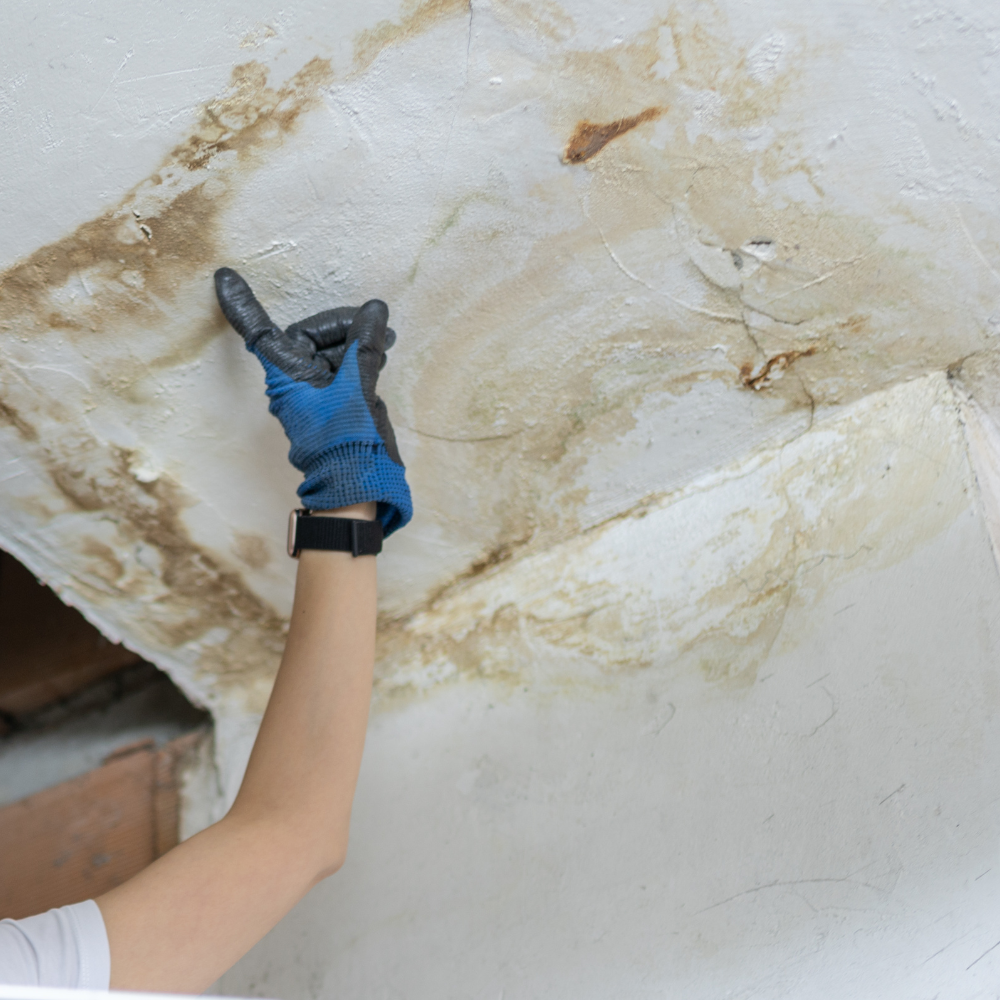
Understanding Mold Problems in Goodyear, AZ
Goodyear’s desert setting doesn’t make it immune to mold. In fact, the combination of intense summer heat, seasonal monsoon storms, and everyday plumbing or HVAC leaks creates ideal conditions for mold when moisture isn’t controlled quickly. Newer, energy-efficient homes—tightly sealed to keep cooling costs down—can also trap humidity after a water event, allowing mold to grow out of sight behind walls, under floors, or in attics.
Homeowners and business owners across Goodyear and the broader West Valley are becoming more aware of indoor air quality issues, including mold. That awareness is well-founded. Mold is not just an eyesore. It can damage drywall, wood framing, insulation, and flooring, reduce property value, and create persistent musty odors and discomfort. Addressing it early and correctly is a key part of protecting both your building and the people inside it.
What Mold Remediation Really Means
Mold remediation is not the same thing as wiping down a wall with bleach. True remediation is a structured, professional process designed to identify mold, contain it, remove contaminated materials, clean and treat remaining surfaces, and prevent regrowth by controlling moisture. Because mold spores exist naturally in the environment, the goal is not a perfectly “mold-free” building, but rather restoring indoor mold levels to normal, healthy ranges.
A professional remediation project generally follows industry standards such as IICRC S520 and moves through defined stages: inspection, moisture control, containment, air filtration, material removal, cleaning and disinfection, drying, and post-remediation verification. Skipping or rushing any of these steps increases the risk that mold will return.
When Mold Is More Than a DIY Problem
Surface mold that appears on a bathroom ceiling or window frame can sometimes be cleaned safely by a homeowner. But visible patches on walls or baseboards, recurring mold after repeated cleaning, warped materials, or strong musty odors often signal a deeper moisture or structural issue. In Goodyear homes, roof leaks after monsoon storms, hidden plumbing failures, and condensation around air-conditioning systems are common culprits.
Health-related warning signs can also point to a larger problem. Persistent coughing, sneezing, congestion, headaches, or eye irritation that worsen indoors—especially in specific rooms—should not be ignored. While only a medical professional can diagnose health conditions, these symptoms, combined with visible mold or water damage, are good reasons to seek a professional assessment instead of disturbing the area yourself and potentially spreading spores.
Step 1: Inspection, Assessment, and Testing
Every remediation project begins with an inspection. After you contact a remediation company in Goodyear, they usually gather background information about past leaks, storm damage, musty smells, or previous cleanup attempts. During the on-site visit, technicians walk through the property with personal protective equipment, visually inspecting high-risk areas such as bathrooms, kitchens, laundry rooms, attics, HVAC closets, and rooms with known water damage.
They look for discoloration, staining, peeling paint, warped materials, and other indicators of hidden moisture or mold growth. Moisture meters and infrared cameras are often used to detect damp building materials behind walls or ceilings. In some situations—such as unexplained health complaints, real estate transactions, or suspected hidden mold—air or surface samples may be sent to a lab. Testing supports decision-making, but it never replaces a thorough visual and moisture inspection.
Step 2: Finding and Fixing the Moisture Source
Mold will come back if the underlying water problem is not solved. In Goodyear, common moisture sources include roof leaks from monsoon storms, plumbing leaks inside walls, poorly sealed windows, HVAC condensate problems, and high indoor humidity in bathrooms and laundry rooms.
Technicians use moisture meters and thermal imaging to track down hidden wet areas. They may coordinate with plumbers, roofers, or HVAC contractors to make repairs before or during remediation. Structural drying is also part of moisture control. Air movers and commercial dehumidifiers are set up to dry damp materials, and moisture levels are monitored until they return to safe ranges. Without this step, even the best cleanup will fail.
Step 3: Planning the Project and Preparing the Property
After inspection and moisture assessment, the contractor typically creates a written scope of work. This document explains which areas are affected, what materials will be removed or cleaned, the type of containment required, and what equipment will be used. It also helps insurance adjusters, landlords, and property managers understand the plan.
Costs and timelines vary depending on the size of the affected area, the materials involved, seasonal demand after heavy rains, and whether third-party trades are needed. Homeowners should receive a written estimate and compare reputable local companies based on experience and transparency, not just price.
Before work begins, owners usually clear personal items from affected areas, make arrangements for pets or vulnerable occupants, and plan for temporary loss of access to certain rooms. Good preparation keeps the project moving smoothly.
Step 4: Containment and Safety Measures
Containment is critical. When walls or flooring are cut open, large numbers of mold spores can be released. Technicians build sealed barriers using thick plastic sheeting, zipper doors, and tape to isolate the work zone. Floors and pathways are covered to protect clean areas.
Negative air machines equipped with HEPA filters create a pressure difference that pulls air into the containment instead of letting contaminated air escape. These machines often run continuously during active remediation and early drying. Workers wear protective gear such as respirators, gloves, eye protection, and full-body suits. This level of protection reflects best practices, not necessarily extreme danger.
Step 5: Material Removal and Cleaning
Porous materials like drywall, insulation, and ceiling tiles are often removed when heavily contaminated because mold penetrates deeply into them. Semi-porous and non-porous materials, such as wood framing and metal, can usually be cleaned and saved.
Demolition is done carefully inside containment to minimize dust. Removed materials are bagged immediately and taken off-site for disposal. Salvageable belongings are cleaned, while heavily contaminated soft goods may need to be discarded or professionally restored.
After removal, technicians HEPA-vacuum surfaces to capture loose spores, then scrub remaining materials with detergent solutions. Antimicrobial treatments may be applied to inhibit any remaining spores. HVAC systems are inspected and cleaned if mold is near the air handlers or ductwork.
Step 6: Drying, Dehumidification, and Environmental Control
Even after cleaning, the structure must be thoroughly dried. Air movers circulate air across wet surfaces, and dehumidifiers remove moisture from the air. In Goodyear’s hot climate, mechanical drying is far more reliable than simply opening windows.
Technicians take daily moisture readings and compare them to known dry standards. Drying continues until materials reach acceptable levels. Containment and HEPA filtration remain in place during this phase to prevent cross-contamination.
Step 7: Verification and Documentation
Once remediation and drying are complete, a detailed visual inspection confirms that surfaces are clean, dry, and free of visible mold. In larger projects or insurance-related cases, third-party clearance testing may be performed to confirm that mold levels are comparable to unaffected areas.
Professional companies provide documentation, including photos, moisture logs, and lab reports if applicable. These records are useful for insurance claims, property disclosures, and future maintenance planning.
Step 8: Repairs, Reconstruction, and Prevention
After clearance, reconstruction begins. New insulation, drywall, and finishes are installed, seams are taped and textured, and surfaces are repainted. Flooring and baseboards are replaced, and all materials are checked to ensure they are dry before installation.
This is also the time to improve moisture resistance—better ventilation, sealed gaps, proper flashing, and upgraded bathroom fans. Preventing future mold in Goodyear depends on controlling humidity, maintaining roofs and plumbing, servicing HVAC systems, and addressing leaks immediately.
Conclusion: Navigating Mold Remediation in Goodyear With Confidence
Effective mold remediation in Goodyear, AZ, is a multi-stage process that starts with careful inspection and moisture identification and ends with verification, repairs, and long-term prevention. Each step—moisture control, containment, safe removal, cleaning, drying, and documentation—matters.
Mold can be unsettling, but it is manageable when handled promptly and professionally. By understanding how the process works and choosing qualified local experts, Goodyear property owners can protect their health, property value, and peace of mind.
FAQs
Small projects may take two to three days. Medium projects often last one to two weeks. Large or complex projects can take several weeks, especially when extensive drying or reconstruction is required.
Coverage depends on the cause. Sudden water damage, such as a burst pipe, is more likely to be covered than long-term neglect. Policies vary, and some have specific mold limits. Always consult your insurer.
Often yes, especially when containment is properly set up. Temporary relocation may be recommended for severe cases or for vulnerable individuals such as children, the elderly, or those with respiratory conditions.
Unresolved moisture sources, poor ventilation, or incomplete cleanup are the main causes of recurrence. Prevent regrowth by fixing leaks promptly, controlling humidity, maintaining HVAC systems, and monitoring high-risk areas—especially during monsoon season.